Friday, August 26, 2022

August 2022 Stampin Friends Blog Hop--It's All About the Paper!


Welcome, crafting friends!


Once a month my stamping friends and I create two projects--a card and a 3-D item. If you are a "paper hoarder" and have trouble cutting into pretty paper like ME, this month's hop theme, It's All About the Paper, is for YOU! We'll be showing projects that show the versatility of using pretty patterned paper. The paper is the star of the show!  You could adapt our projects with any of your own beautiful paper. 
 You will find a list of all the bloggers at the bottom of my post. 


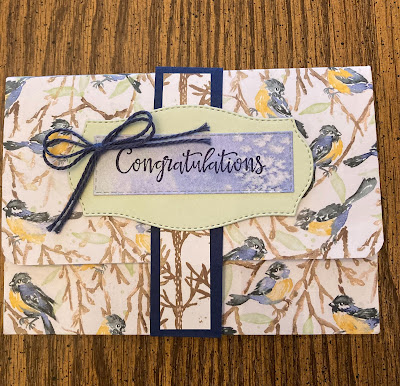
Here are my projects--a double fun fold  congratulatory card and a matching pouch containing a set of five thank you cards and matching envelopes.  I used patterned paper from the Ringed with Love set of paper--free with a qualifying order of $50 or until the end of August.


card

clutch with belly band closure
thank you card with matching envelope
clutch contains a set of five identical thank you cards.


The blue circle with the greeting is the back side of the bird paper.  I love how the colors coordinate!


These are the two sides of the sheet of 12 x 12 of patterned paper I used. 
Sometimes I have a hard time choosing which side of pretty paper to use.  With this card I was able to show both sides!


front view with narrow flap

larger flap inside (pale green)

open card showing another layer of patterned paper


How to make the double fold fun card:

1.  Card base:  night of navy cardstock 5 1/2" x 6 1/4" and score at 2".
2.  Inside:  soft sea foam cardstock 5 1/4 x 8" and score at 4". 
3.  For the narrow front flap, cut  dsp*********and mat****
4.  For the inside, cut TWO pieces of patterned paper 3 3/4" x 5".
5.  Decide on a front greeting and an inside greeting, stamp them on white cardstock or directly onto the patterned paper, cut them, and mat them.   You will need TWO die cut (or hand cut) shapes (one for the front and one for the inside greeting) and TWO mats.
6.  Adhere the pale green piece so that the folded edge is on the RIGHT side leaving a small margin on all sides.
7.  Adhere the patterned paper pieces to the pale green piece. 
8.  When the card is closed, the front greeting covers the inside greeting.  Adhere the inside greeting FIRST so it will be easier to line up them up exactly.
9.  I left the inside blank as I plan to write a personalized message to the recipient.  

How to make the thank you cards:

The front of the thank you card shows one side of this beautiful paper and when the card is open, the other side of the paper is showing.  What a great way to show both sides of pretty paper!

The card base--7 x 5" scored at 3/4" 
The front of the card is a piece of pretty paper measuring 3 1/4 x 5"
Stamp the thank you in Night of Navy ink.


Place the patterned paper on top of the soft sea foam piece leaving an even border on the top, bottom, and right side.  Adhere it to the underside of the 3/4 flap of the green piece. 

 
Here's a tip to make sure the front and back piece are lined up perfectly.  Turn the card base upside down, put the blue patterned piece on top and put the pieces in the corner.  I used my scoring tool, but use whatever you have. Open the flap, apply adhesive, close the flap onto the blue piece.


Wrap some twine around the pale green "spine" section and it's done!  A quick and easy to make a set of cards.  (I made five cards.) I used the same paper to decorate the flaps of the envelopes.


How to make the clutch:

Cut the patterned paper to 11 x 11" 
Score at 2 3/4" and 8 1/4"
Rotate the patterned paper 90 degrees and score at 2 3/4", 3 1/2", 7 1/2" 8 1/4"

 I have seen several how to videos on how to make the clutch, and I found the one done by the Paper Pixie very easy to follow. Here is the link for her video: (219) A2 Card Set Gift Pouch Tutorial - YouTube  Her directions are for an A2 card pouch.  I changed the sizes to notecard size (3 1/3" x 5") for my project.

Thanks for stopping by.  Leave a comment below to let me know what you think of my projects.  Then click on Barb's link to find more crafting inspiration.

Blog Hop Participants:


These are some of the projects I used in my projects.  Click on the link to shop with me.  


Friday, July 22, 2022

July 2022 Stampin Friends Blog Hop


Welcome Crafting Friends!

Once a month my stamping friends and I create two projects--a card and a 3-D item.  The theme for this month's hop is Perfectly Punched.  We are demonstrating the use of punches in crafting. If you are following the hop, you may have come from Maureen's blog.  Weren't her projects awesome? You will find a list of all the bloggers at the bottom of my post. 

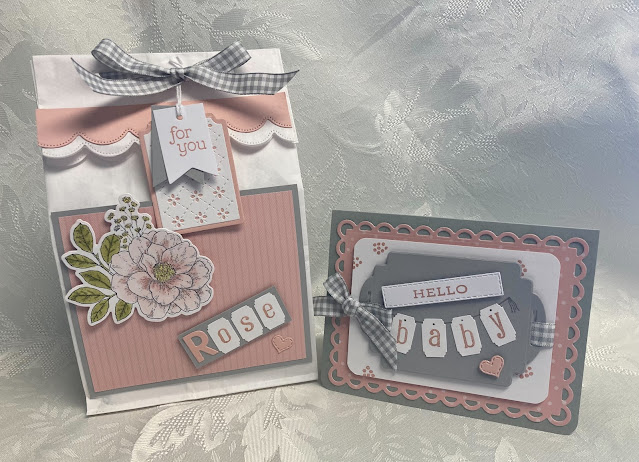
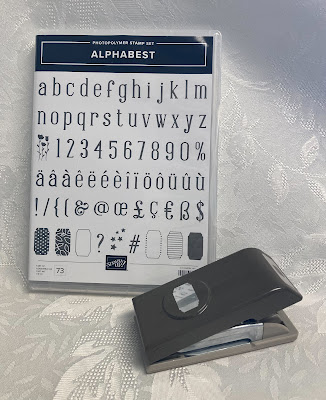
I am showcasing the Best Label Punch and Alphabest stamp set--found in the new 2022-2023 Stampin' Up! Annual Catalog.  Here are my projects:


The gift bag on the left is made from a white paper lunch bag.  I folded the top down and trimmed it with a Basic Border die. The ribbon for the closure is threaded through two punched holes. 


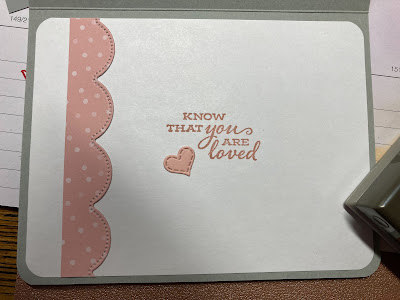
Inside greeting is from the Celebrate Sunflowers stamp set


Alphabest Bundle includes the stamp set and the punch.  (They can be purchased as a bundle with 10% savings or separately.) I will use these often!!!!  So versatile.


Unfortunately, I got this far in the blog preparation last week and began feeling ill.  A positive COVID test resulted in my spending much needed blog hop time in isolation--away from my craft room and family computer.  I apologize for this very short blog post!  I hope you will leave me a comment and click on Jo's link to see how she used a punch (or more?) to make her lovely projects. 


Products I used for the card:
Smoky Slate card stock #131202
Blushing Bride card stock #131198
Subtles 6 x 6 designer series paper #159255
Scalloped Contour dies #155560
Designer Tags dies #159165
Stitched Rectangle dies #151820
Alphabest Bundle #158886
Celebrate Sunflowers stamp set #152517
Other Products I used for the gift bag:
White paper lunch bag
Cottage Flowers stamp set #159040


Friday, May 27, 2022

May 2022 Stampin Friends Blog


Welcome Crafting Friends!

Once a month my stamping friends and I create two projects--a card and a 3-D item.  The theme for this month's hop is Celebrating Men.  Let's not forget about all those wonderful men in our lives!  If you are following the hop, you may have come from Jo's blog.  Weren't her projects awesome? You will find a list of all the bloggers at the bottom of my post. 

Here are my projects:  an off-center Z fold card and a baseball card gift box


Father's Day in the US is June 19.  My card is for a baseball fan who has saved baseball cards for many years, and I made a gift box to hold a few baseball cards I am giving him.  


I got my card inspiration from fellow demonstrator, Julie Davison.  Thank you, Julie!

Card dimensions and how to:
 
Card base:
Shaded Spruce card base is 5 1/2" x 10 3/4" and is scored at 3 3/4 and 7"

Front Panel:
Very Vanilla background piece 3 1/2 x 5 1/4"
Shaded Spruce mat for greeting 3 1/4 x 1 7/8"
Very Vanilla greeting piece from the Stitched Rectangles dies
Stamped greeting found in the Your Biggest Fan stamp set, pennant, stars and Let's Get Together and Celebrate (die cuts from the Sports Event dies)

Middle Panel:
DSP strip 5 1/4 x 2" (Stampin' Up 12 x 12 designer series paper Hey Sports Fan)
Shaded Spruce strip 2 x 5 1/4" (which overlaps the DSP a little)
Baseballs are punched from another sheet of designer series paper Hey Sports Fan

Third Panel:
Very Vanilla background piece 3 1/2 x 5 1/4"
Night of Navy Contrasting Strip 3/4 x 5 1/4" (part of the designer series paper set)
Inside message and embellishments are all part of the bundle of products.
  *****

Believe it or not--The inspiration for the box came from a Mini Box of Werther's Originals!  I needed a box for baseball cards, so I took the candy box apart and to see how it was put together.  I reworked some of the dimensions and this is my baseball card sized box.

All the decorations are die cut from the designer series paper mentioned above.

Linen Thread unties to open the box.


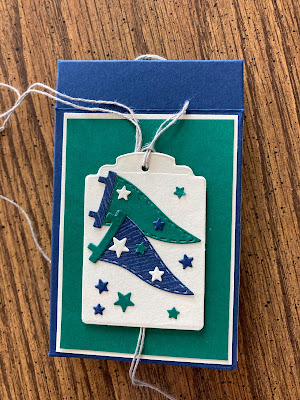
On the back pennants are adhered to a tag cut from the new Designer Tags die set.


Side panel and lid detail


This is the template I used for the box. Solid red lines indicate cutting.  Blue dotted lines are score lines.  The pink shaded areas are pieces that are trimmed away.


Begin with a 6 x 7 1/2" piece of cardstock.  
Score on the longer side at 
1/2"   3 1/4"   4"   6 3/4"
Score on the shorter side at
3/4"   1 1/2"   5 1/4"

I hope you have found some tips or inspiration in my masculine projects, you will continue on to Maureen's blog.  We love it when you share comments with us.  Here is a list of my fellow bloggers:


Shop with Me!
To purchase items I used, click on the links below.
The Your Biggest Fan stamp set, and the Sports Event dies can be purchased individually or in a bundle with a 10% discount. (Available in the Mini Catalog until the end of June.)

Friday, April 22, 2022

April 2022 Stampin Friends Blog Hop


Welcome Crafting Friends!

The theme for this month's hop is All About the Flowers.  If you are following the hop, you may have come from Teri's blog.  Weren't her projects awesome? You will find a list of all the bloggers at the bottom of my post. 

I am excited about this month's theme!  I love flowers and flower gardening, and even though I have several flower stamp sets, I am always looking for more! Because I am a demonstrator, I am able to see the catalog early and preorder from the new  Stampin' Up! 2022-2023 Annual Catalog.  The products in the new catalog are available for purchase on May 3. 

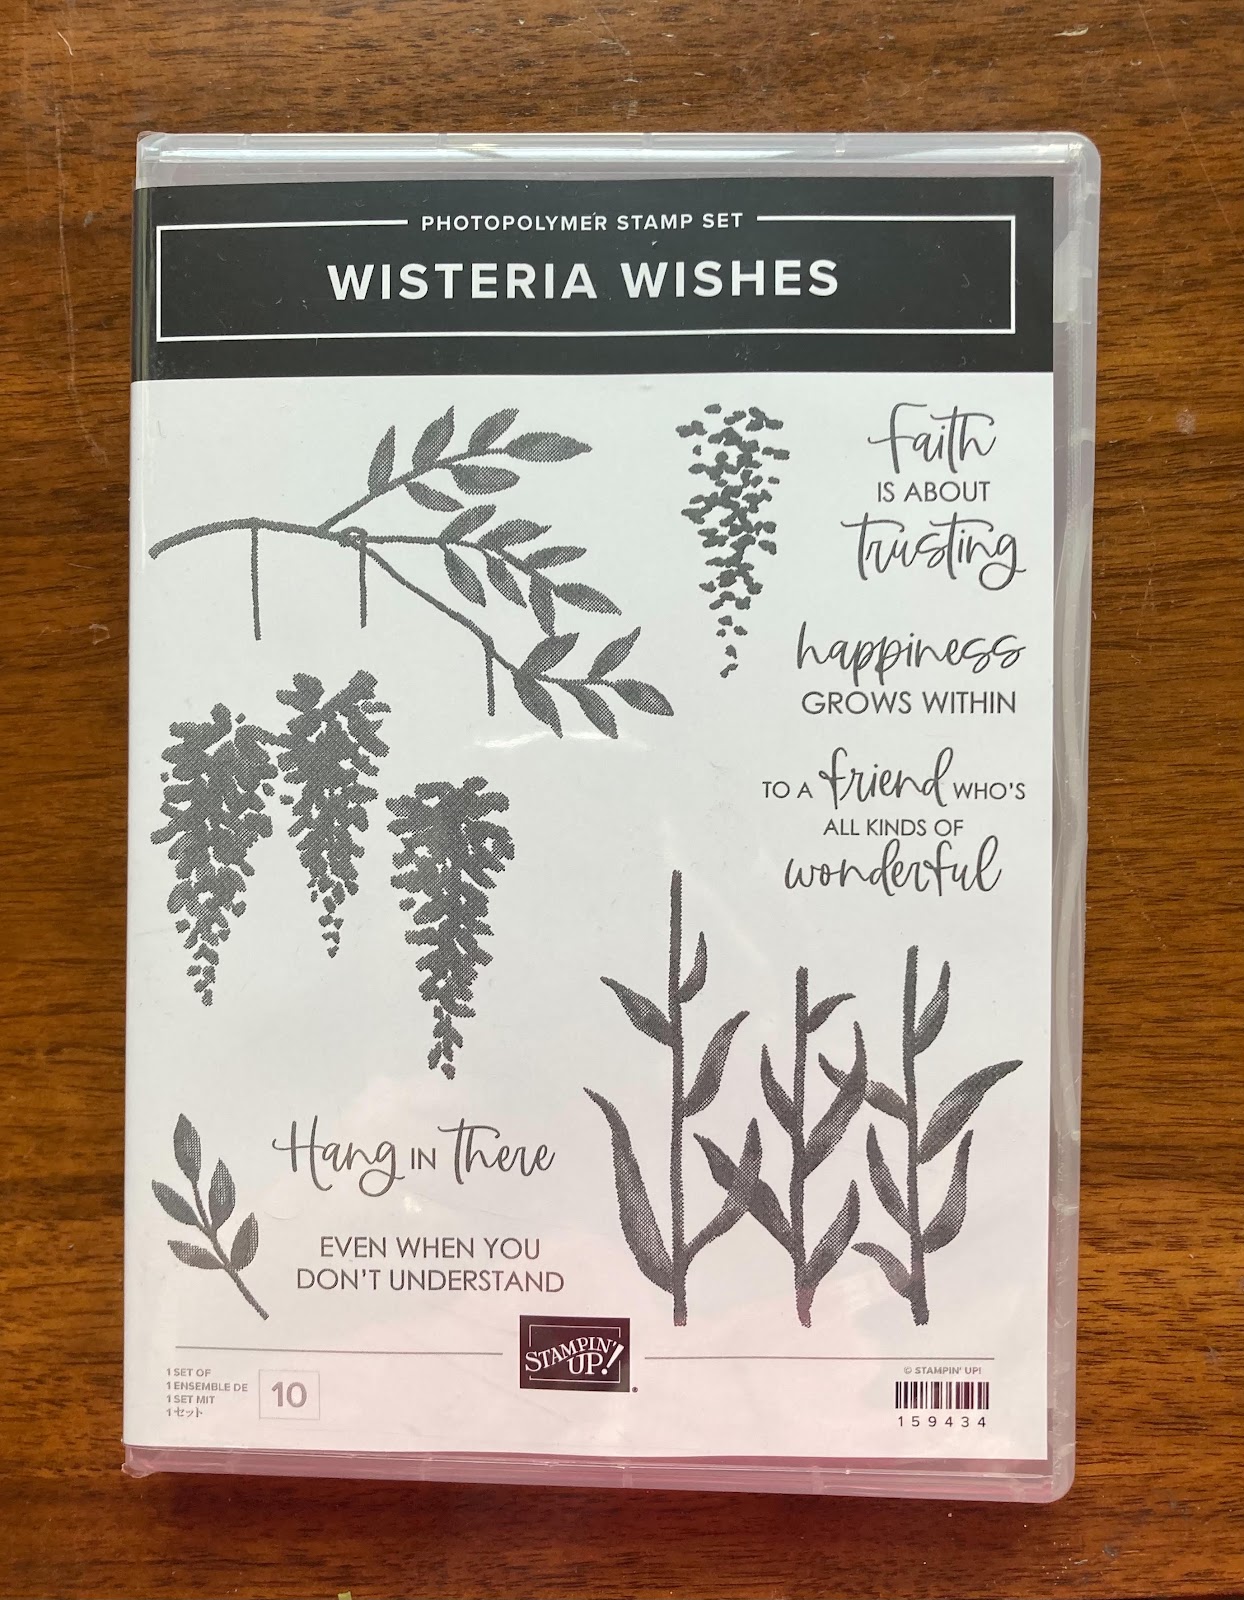
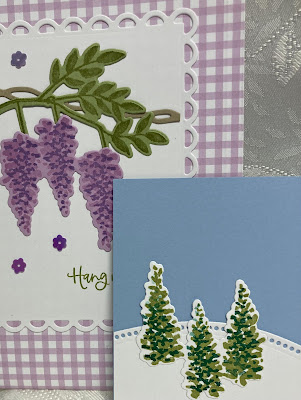
Wisteria don't thrive in western Montana due to our cold winters, but I have seen them growing in the Seattle area--so beautiful!  When I saw the Wisteria Wishes stamp set in the new catalog, it went to the top of my wish list.  It comes with a die set in a "bundle."

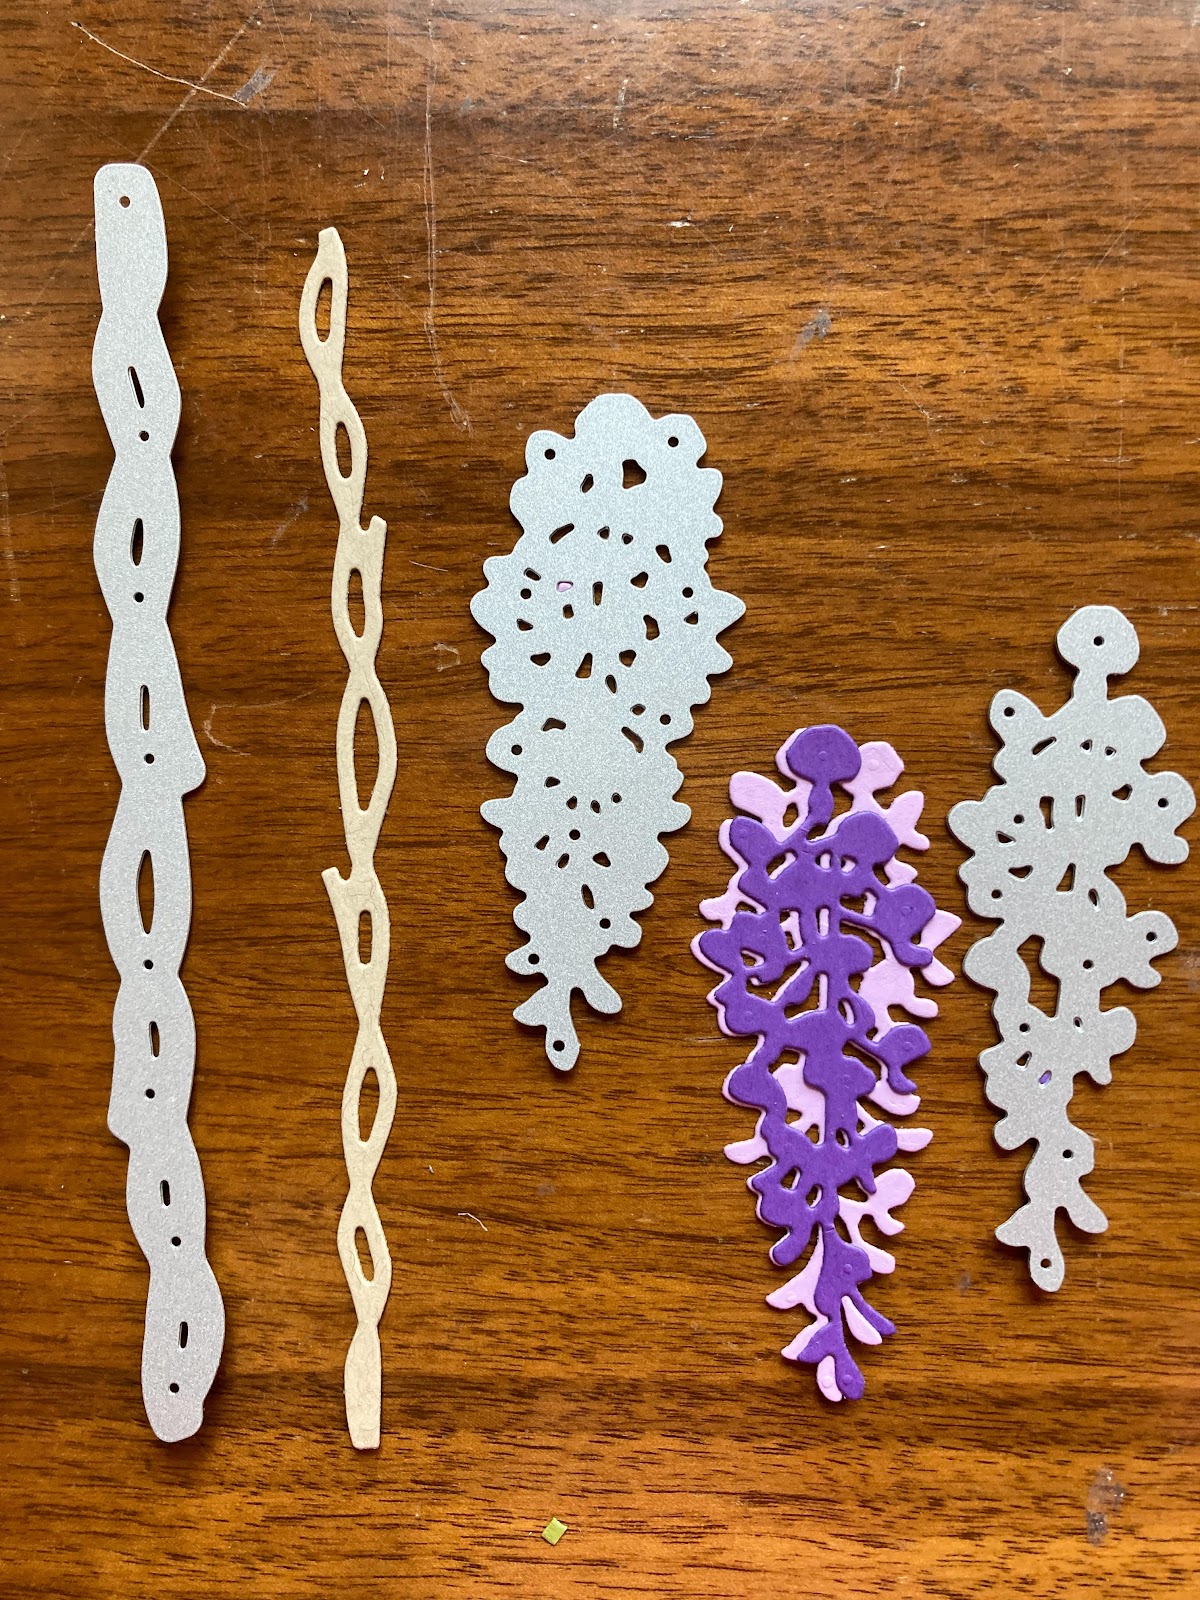
I used the Wisteria Wishes bundle to make a card for a friend.  The two large flowers were made with two sizes of dies from the set.  The smaller flowers were stamped first with Fresh Freesia and then stamped over with Highland Heather. 

Wisteria Wishes available May 3.


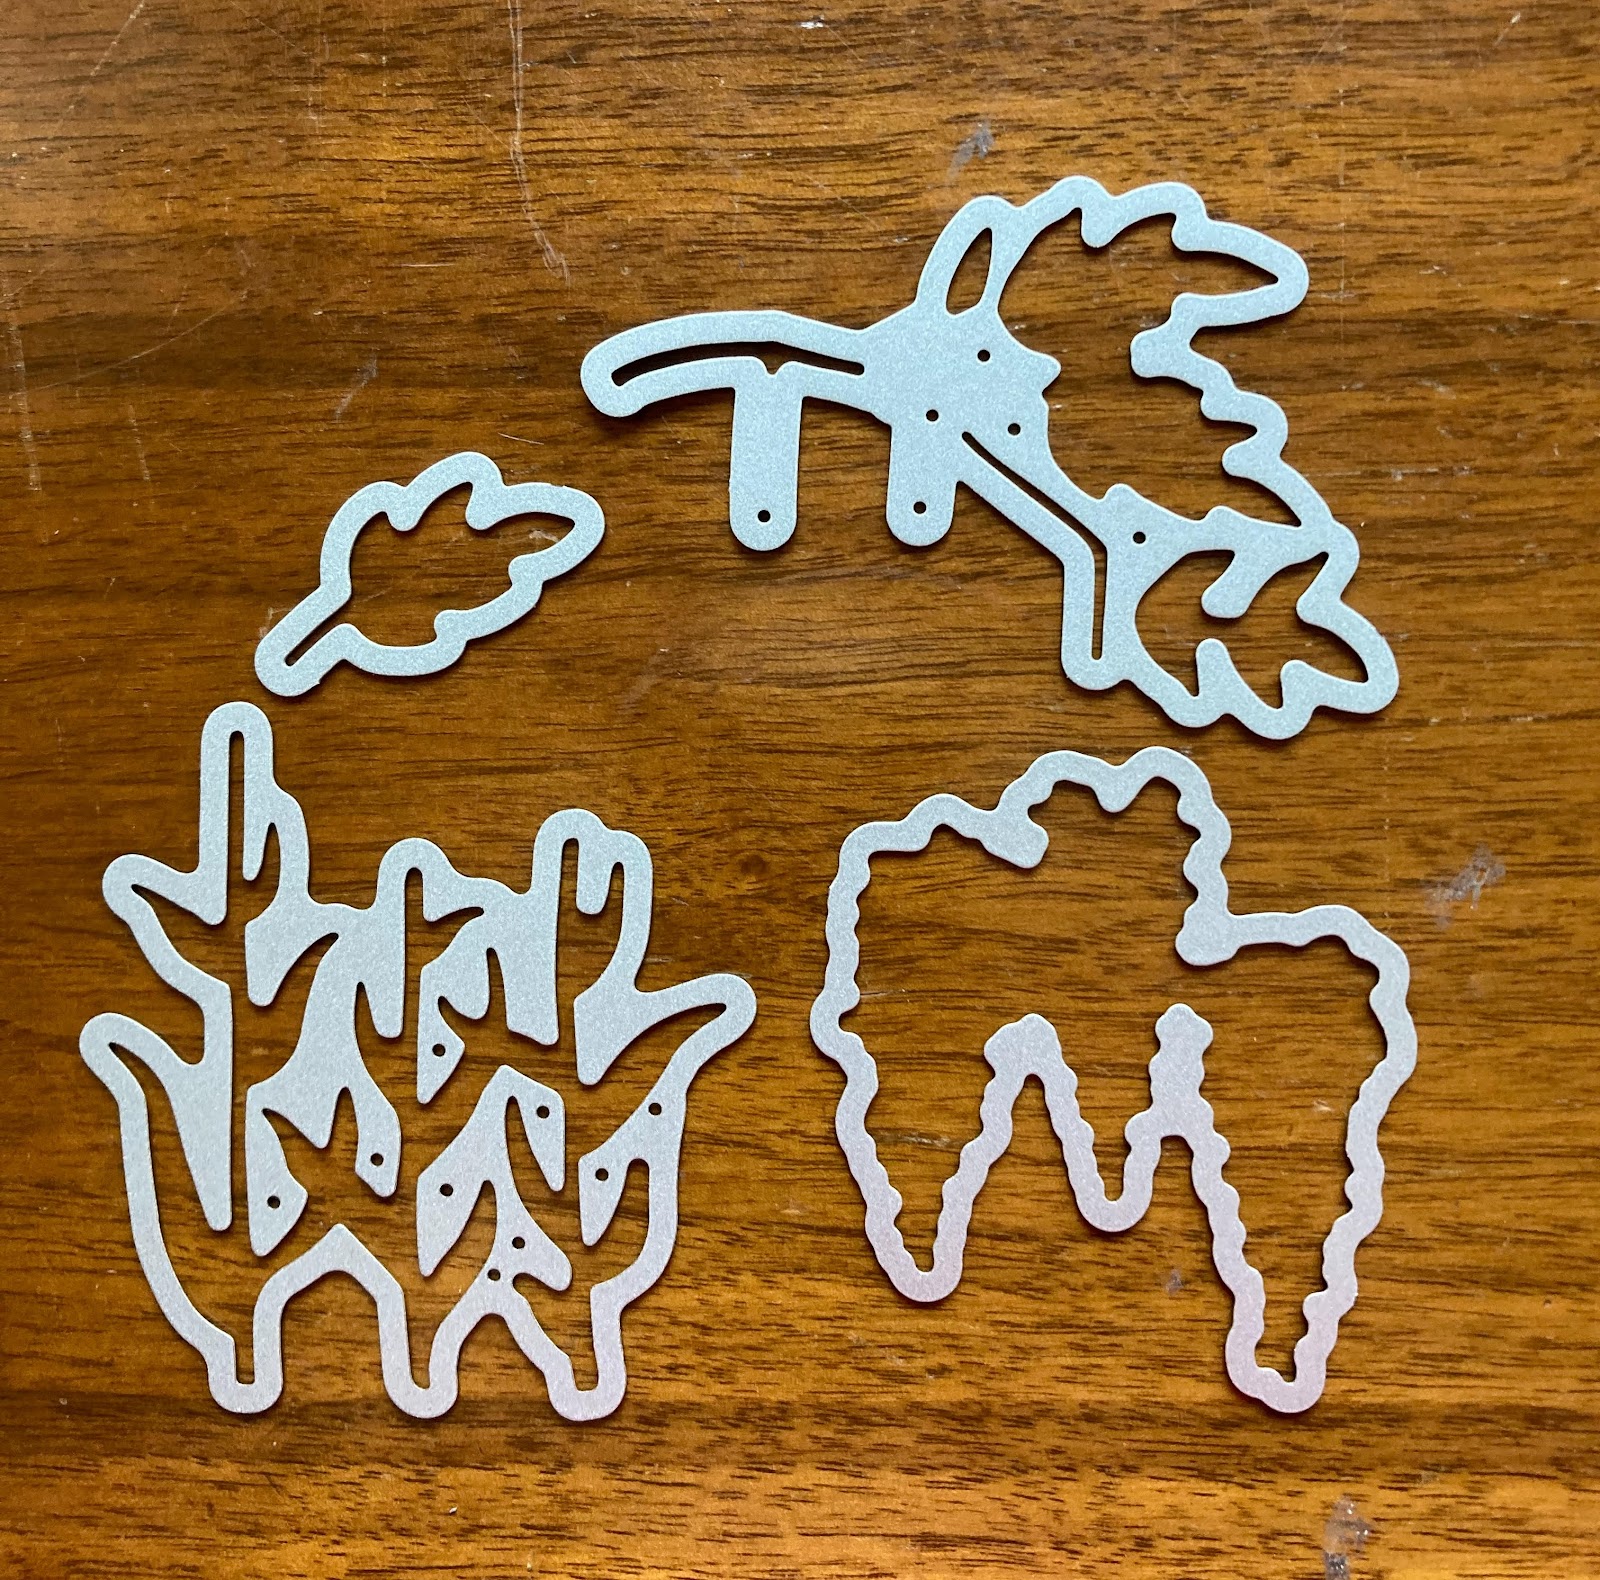
These dies cut stamped images from the die set.


These are some of the dies in the set that don't have coordinating stamps.
I used Fresh Freesia card stock for the larger flower piece and Highland Heather card stock for the smaller piece and then layered them.


 I love the leaf die in the set.  It cut and embossed these beautiful leaves.  Can you see the trellis just barely visible in the back?  It's made with another die from the set.


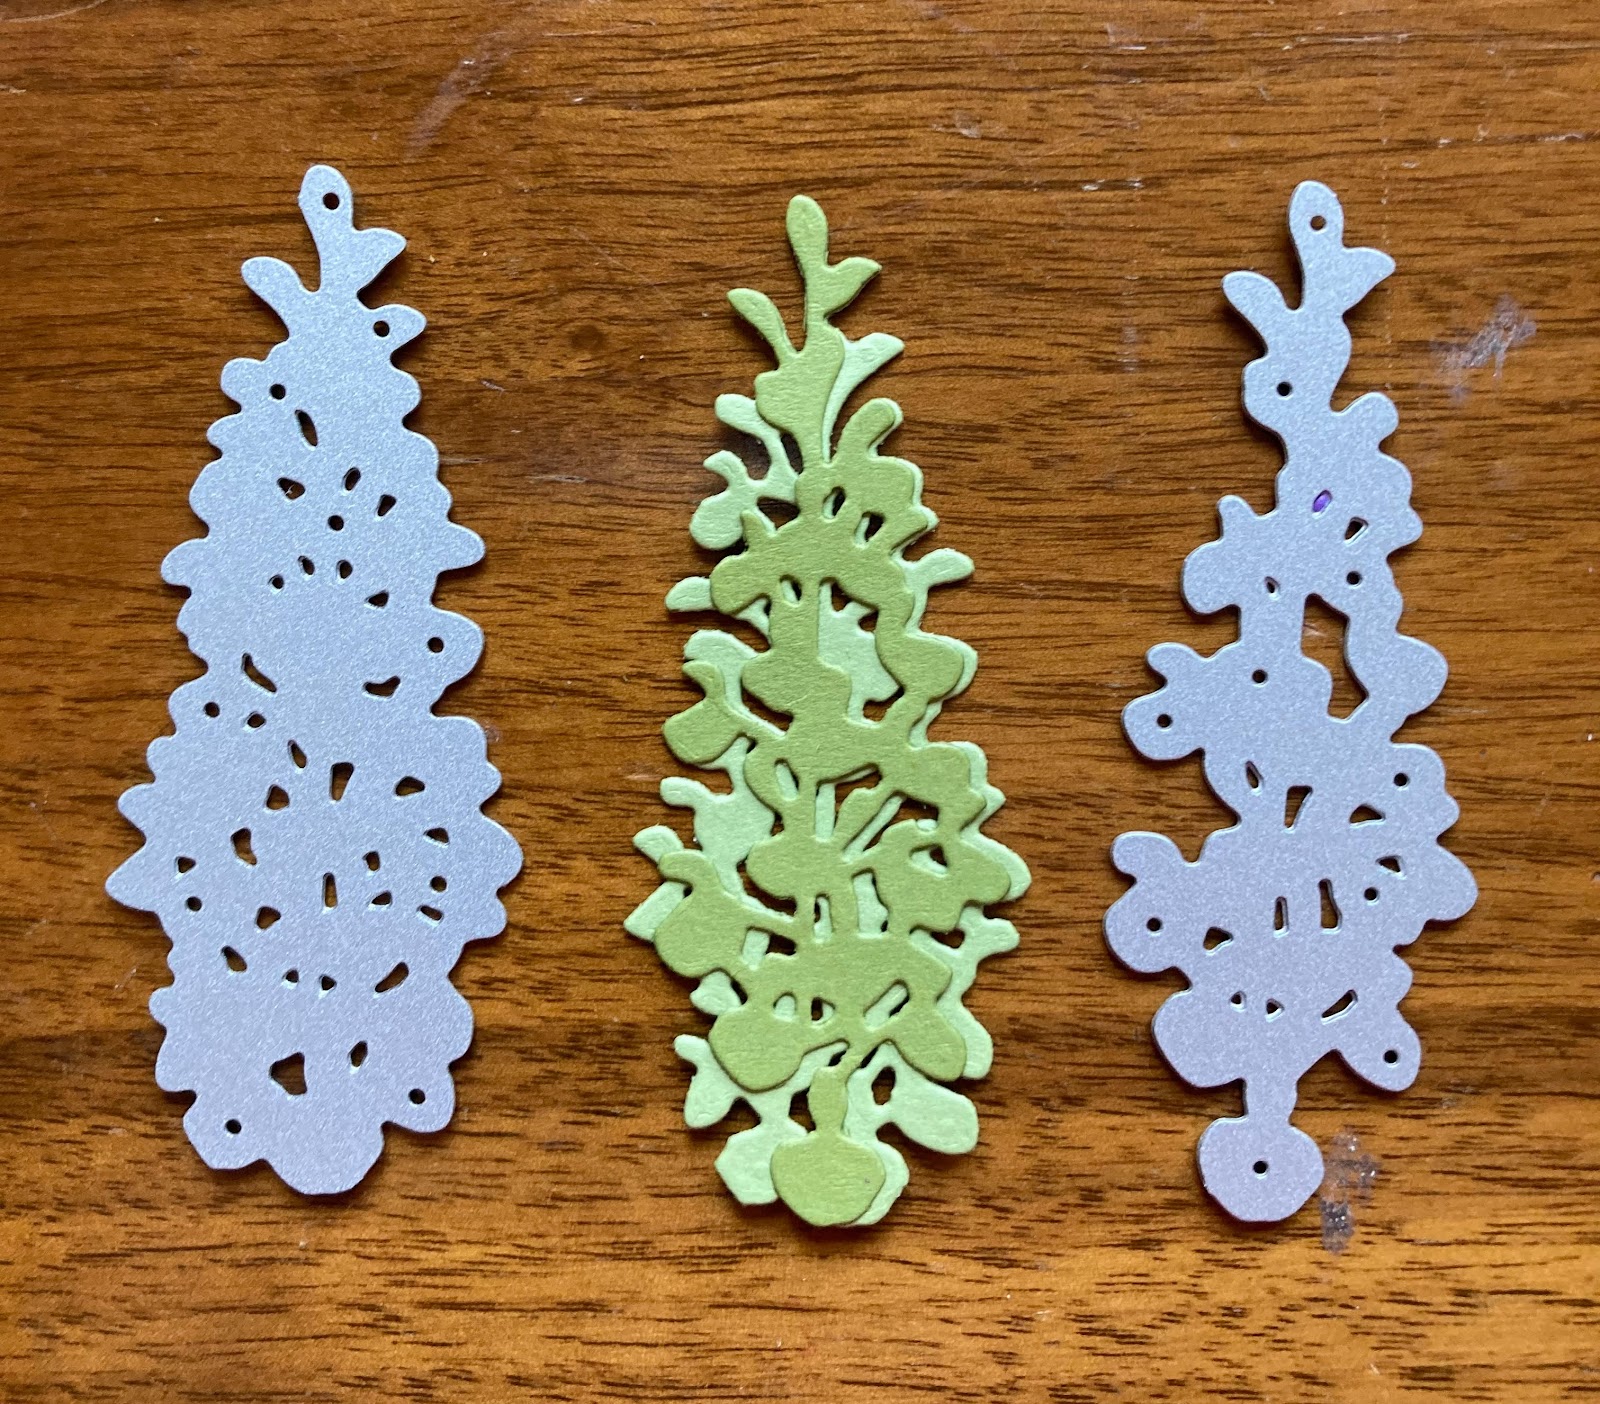
I try to find stamps I can use in multiple ways.   I am already thinking about Christmas cards (yes, really!) Turn the stamp upside down and it becomes pine trees!   

Trees are stamped and then cut.


Two die cuts to make a tree!

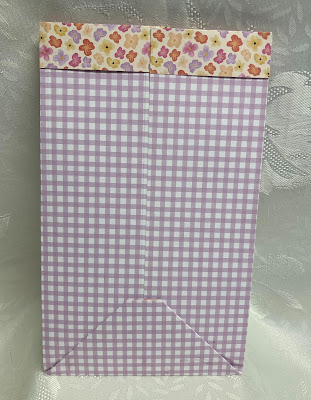
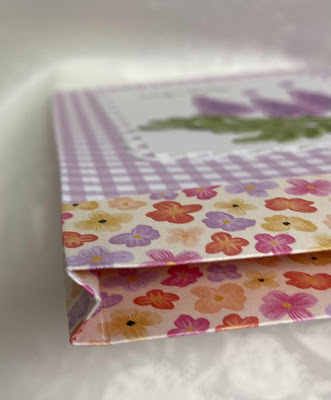
My 3-D project is a slim pleated gift bag to hold a prayer journal I am giving to my friend.   I used a 12 x 12" piece of two-sided pretty paper for my bag. The contrasting border along the top was made by folding over an inch.  I used a die from the Color and Contour die set to make the white focal background piece. I stamped the leaves and flowers and used my die cutting machine to cut them.  


Back of bag


Close up of the side pleat

Thanks for stopping by.  I hope you will continue on to 
Barb's blog.  We really look forward to seeing your comments!


Product List
Wisteria Wishes Bundle available May 3.  Catalog # 158860