Welcome, Crafting Friends!
Time for another Stampin Friends Blog Hop. This month's theme is Fabulous Fun Fold and 3D Project. I can't wait to see the fun and fancy cards and projects my friends have created. They are sure to be awesome. If you are following the "hop" you may have come from Teri's blog. Be sure to click on Tiziana's link in the list of links listed at the bottom of my blog to continue "hopping."
Here are my card and project:
Explosion Birthday Card


Inside is the explosion part. A WOW factor that is easy to make.
Isn't that paper gorgeous? It comes from a set of designer series paper called "Simply Marbleous, one of the free items offered this month by Stampin' Up! when I made a qualified purchase during the Sale-A-Bration promotion. The promotion will end February 28, 2022.
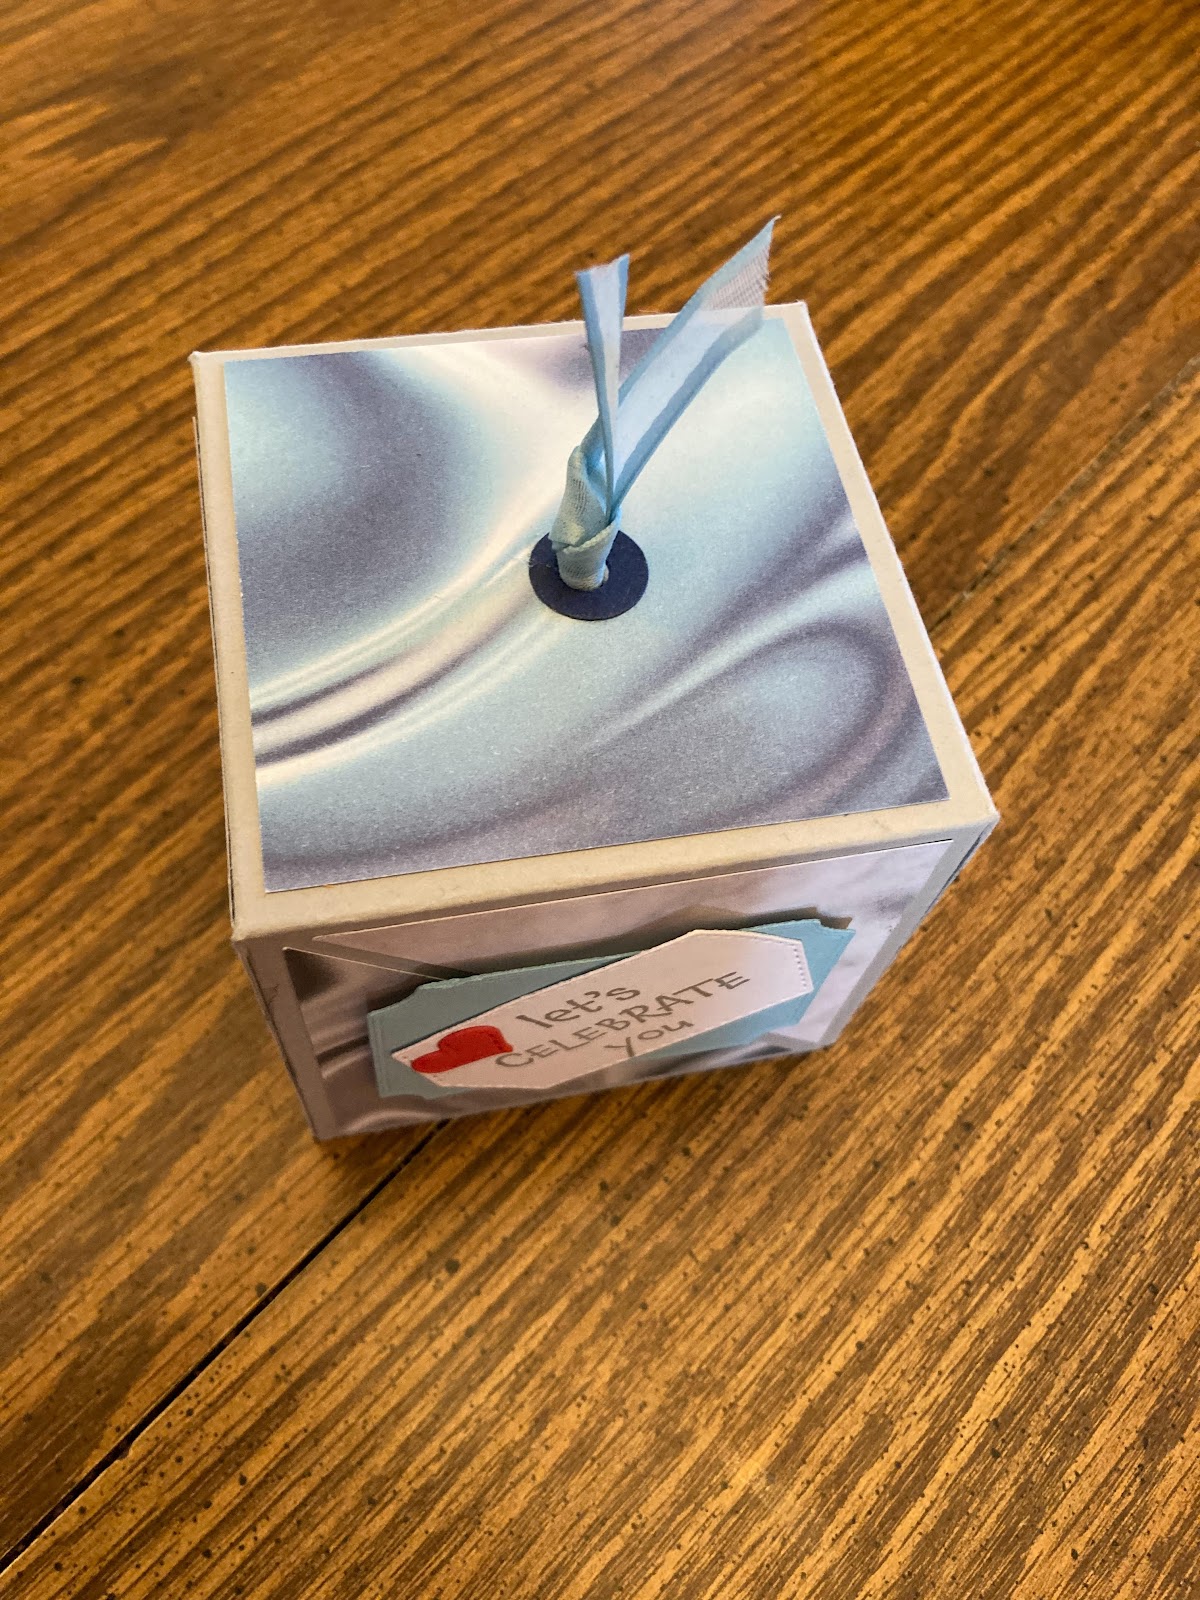
Explosion Box
The 3-D project also features an "explosion."
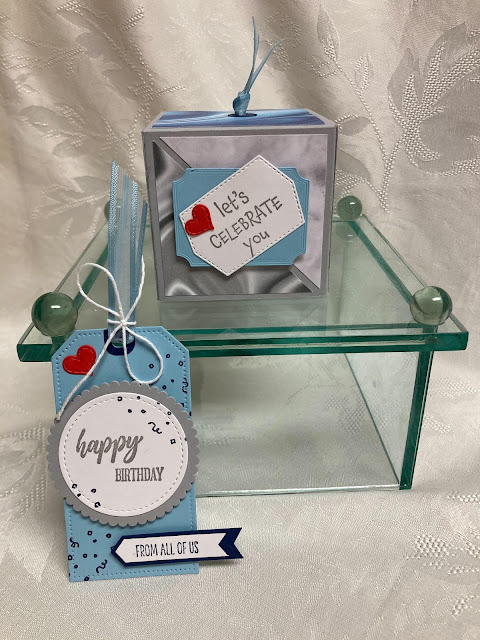
Pull the lid off and the sides collapse to reveal messages.

Explosion boxes have been around for a long time, and numerous examples can be found online. I choose one and altered it a bit.
A few of my friends and I are planning a surprise birthday party for another of our friends. I designed the box to be a "guest book." We will each write a special message on the inside pages of the box and present it to her along with a special gift.
Card
Card base: 4 1/4" x 8 1/2" scored at 5 1/2" (Gorgeous Grape)
Front background: 4 x 5 1/2" designer paper (Simply Marbleous)
Because the pretty paper is double sided, I cut it into two pieces at 2 1/2" and flipped one of the pieces over. I overlapped the pieces to create an even border and covered the overlap with ribbon. The ribbon will wrap around to the inside and knot in the front. I chose to do this at the very end of the project, so the ribbon would show on the inside. However, if you wrap and tie the knot now, the ribbon will be covered by the white top piece. Either way will work.
Inside: basic white card stock 6 x 6" scored in half each direction and one of the diagonals.

Optional: The notches were made with a tool I have had in my craft room for years--an envelope punch board. Warning: this picture shows the notches, but the notches should NOT be made until the pretty paper pieces have been glued on.
The triangle accent pieces are halves of 2 3/4" squares.
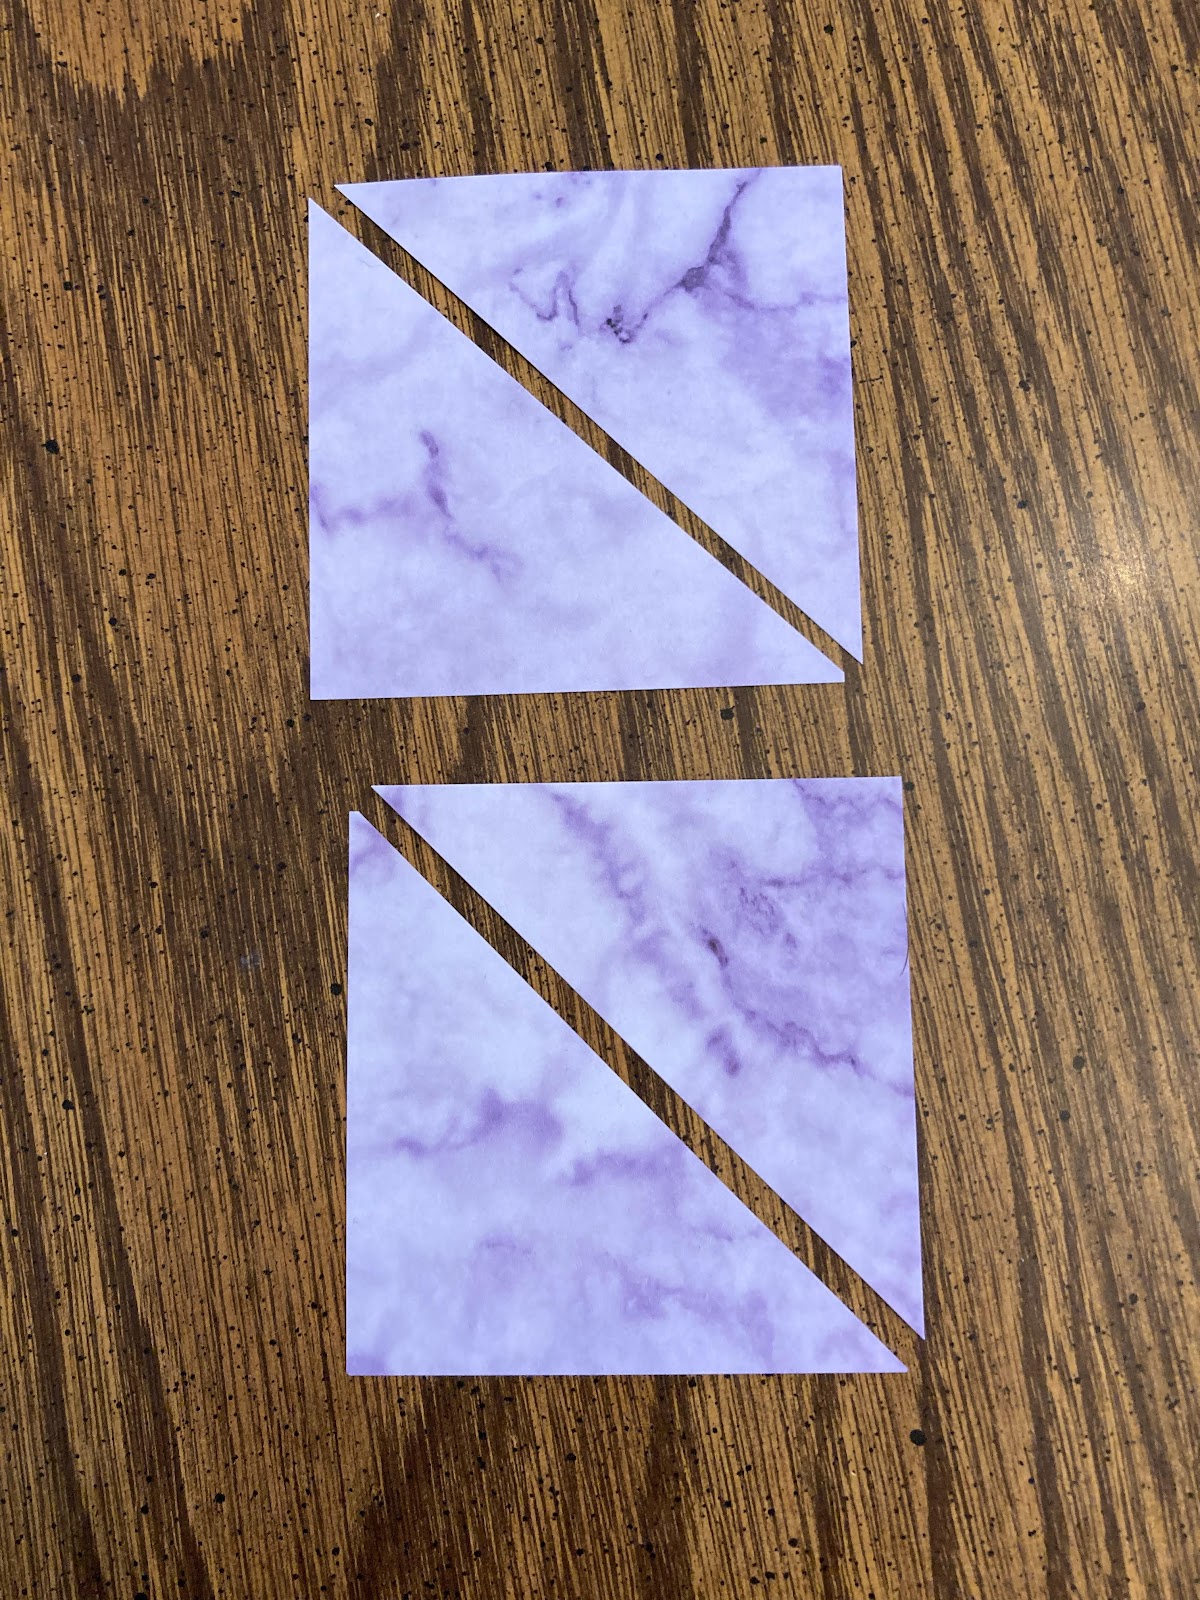

For added interest I flipped one piece of each triangle to show both sides of the pretty paper. Now cut the notches if desired.

The Explosion Box:
Outer layer:
Basic white 9 x 9" scored at 3" on all sides. Cut off the four corner sections
Middle layer:
Basic white 7 1/2 x 7 1/2: square scored at 2 1/2" intervals. Cut off the four corner sections.
Top layer:
Basic white 6 x 6" square scored at 2" intervals. Cut off the four corner sections.

To put it together, glue the middle-sized layer on to the largest layer. Glue the smallest layer on top of the middle-sized layer.
Decorate and stamp greetings as desired.
Lid:
The lid must be just a tiny bit larger than the box so it will slide off easily. The first lid I made was from another 9x9" piece of cardstock scored at 3". Once I slid it on the box, the fit was too tight. I couldn't pull the lid off! So......back to the drawing board.
Dimensions of the lid: 9 1/16 x 9 1/16" Scored at 3". Burnish on the score lines for a crisp fold. To make the four corner flaps, cut from the edge of the card stock to the first score line. I also trimmed a small wedge off each corner flap. To make less bulk when folding in the sides, also cut about an inch off each corner flap. The bottom left corner piece in this picture shows the first cut. Trim all four corner flaps like that.


It's easier to decorate the sides of the box before gluing the flaps to the sides. I used 2 3/4" squares of the Simply Marbleous pretty paper. I cut them on the diagonal to make triangles similar to the card.

Now apply adhesive to the corner flaps and attach them sides of the lid.


To finish it off, I colored a strip of white ribbon with a Balmy Blue Stampin' Blend alcohol marker, poked a hole in the top of the lid, and threaded the ribbon through the hole, and tying off each end.

4. Jean Beaulieu (USA) you are here |
Here are the Stampin' Up! products I used. Click on the link under each picture to go to my online "store."
 |  Smoky Slate 12" X 12" Textured Card Stock [132131] $11.95 | ||


")
")


Explosion boxes never go out of style! Well done.
ReplyDeleteAbsolutely gorgeous projects Jean .... how lovely to see an explosion card and box!
ReplyDeleteOh wow, great card and projects. And thank you for the instructions!
ReplyDeleteGreat projects and thank you for sharing the instructions to x
ReplyDeleteLove interactive cards
ReplyDelete