Friday, March 25, 2022

March 2022 Stampin Friends Blog Hop


 Welcome, Crafting Friends!

Time for another Stampin Friends Blog Hop.  This month's theme is Monochromatic March.  We have chosen a favorite color and created cards and projects with just that color.  I can't wait to see the monochromatic cards and projects my friends have created.  They are sure to be awesome.  If you are following the "hop" you may have come from Maureen's blog.  Be sure to click on Steph's link in the list of links listed at the bottom of my blog to continue "hopping."

I have chosen various shades of blue (Night of Navy, Pacific Point, and Balmy Blue) for my card and project: 


Treat Pouches in shades of blue


Card

I began with with a piece of basic white card stock 8 1/2" x 5 1/2" scored at 4 1/4".  I used stamps from the Forever Ferns set to create the background.  I used dies from the Forever Flourishing set to cut the background embellishments.  I cut a Balmy Blue rectangle, a Night of Navy rectangle, and a Pacific Point rectangle with the Stitched Rectangles die set.  The bird, the flowers, and the hello are stamps in the Sentimental Swirl stamp set.  The bird, flowers, and the swirl were stamped with Versamark ink, sprinkled with white embossing powder, and heat embossed.  A little piece of ribbon and some gems finished the card.


Treat Pouches
I always have a little chocolate treat for my class attendees, and these are pouches for this month's treats.  They are very easy to make!  
Use a 6 x 6" card stock or designer series "pretty" paper.  I made my own pretty paper by randomly stamping leaves from the Forever Fern set on the card stock.  
Do this first!  Then proceed to the following steps.

1. Score along one side at 1 3/8".
2. Turn the piece 90 degrees to the right.
3. Score again at 1 3/8" only to the first score line.
4. Score at 2 3/4" only to the first score line.
5. Score at 4 1/8" only to the first score line.
6. Score at 5 1/2" all the way to the bottom of the piece.  This 1/2" piece will be the flap.


7. Cut from the edge stopping at the first score line along the 
1 3/8, 2 3/4, 4 1/8, and 5 1/2.
8. Remove the little 1/2" corner piece. 


9. Next apply adhesive to the 1/2" flap.
10. Gently roll the card stock and bring the flap to the other side. Tuck the sticky flap inside lining up the edge of the card with the 1/2" fold line. 
11. Fold the bottom squares in on top of each other and adhere forming the bottom of the pouch.

12. Punch two holes in the top of the pouch.
13. Insert a ribbon and tie a square knot.
14. Finish with a tag cut from the Tailored Tags die set and some die cut leaves from the Forever Flourishing die cut set.


Thanks for stopping by my blog today.  I hope you will click on the links below to continue on to my Stampin' friends' blogs and  see what monochromatic projects they created.  We love it when you leave comments!


These are some of the products I used to make my card and pouches.  To purchase them from my online "store" click on the links below.  

Friday, February 25, 2022

February 2022 Stampin Friends Blog Hop

 Welcome, Crafting Friends!

Time for another Stampin Friends Blog Hop.  This month's theme is Fabulous Fun Fold and 3D Project.  I can't wait to see the fun and fancy cards and projects my friends have created.  They are sure to be awesome.  If you are following the "hop" you may have come from Teri's blog.  Be sure to click on Tiziana's link in the list of links listed at the bottom of my blog to continue "hopping."

Here are my card and project: 

Explosion Birthday Card


Inside is the explosion part. A WOW factor that is easy to make.


Isn't that paper gorgeous?  It comes from a set of designer series paper called "Simply Marbleous,  one of the free items offered this month by Stampin' Up! when I made a qualified purchase during the Sale-A-Bration promotion. The promotion will end February 28, 2022.


Explosion Box
The 3-D project also features an "explosion."


Pull the lid off and the sides collapse to reveal messages.

Explosion boxes have been around for a long time, and numerous examples can be found online.  I choose one and altered it a bit.
A few of my friends and I are planning a surprise birthday party for another of our friends.  I designed the box to be a "guest book."  We will each write a special message on the inside pages of the box and present it to her along with a special gift. 


Card
Card base:  4 1/4" x 8 1/2" scored at 5 1/2" (Gorgeous Grape)
Front background:  4 x 5 1/2" designer paper (Simply Marbleous)
Because the pretty paper is double sided, I cut it into two pieces at        2 1/2" and flipped one of the pieces over.  I overlapped the pieces to    create an even border and covered the overlap with ribbon.  The            ribbon will wrap around to the inside and knot in the front.  I chose        to do this at the very end of the project, so the ribbon would show        on the inside. However, if you wrap and tie the knot now, the ribbon      will be covered by the white top piece. Either way will work.
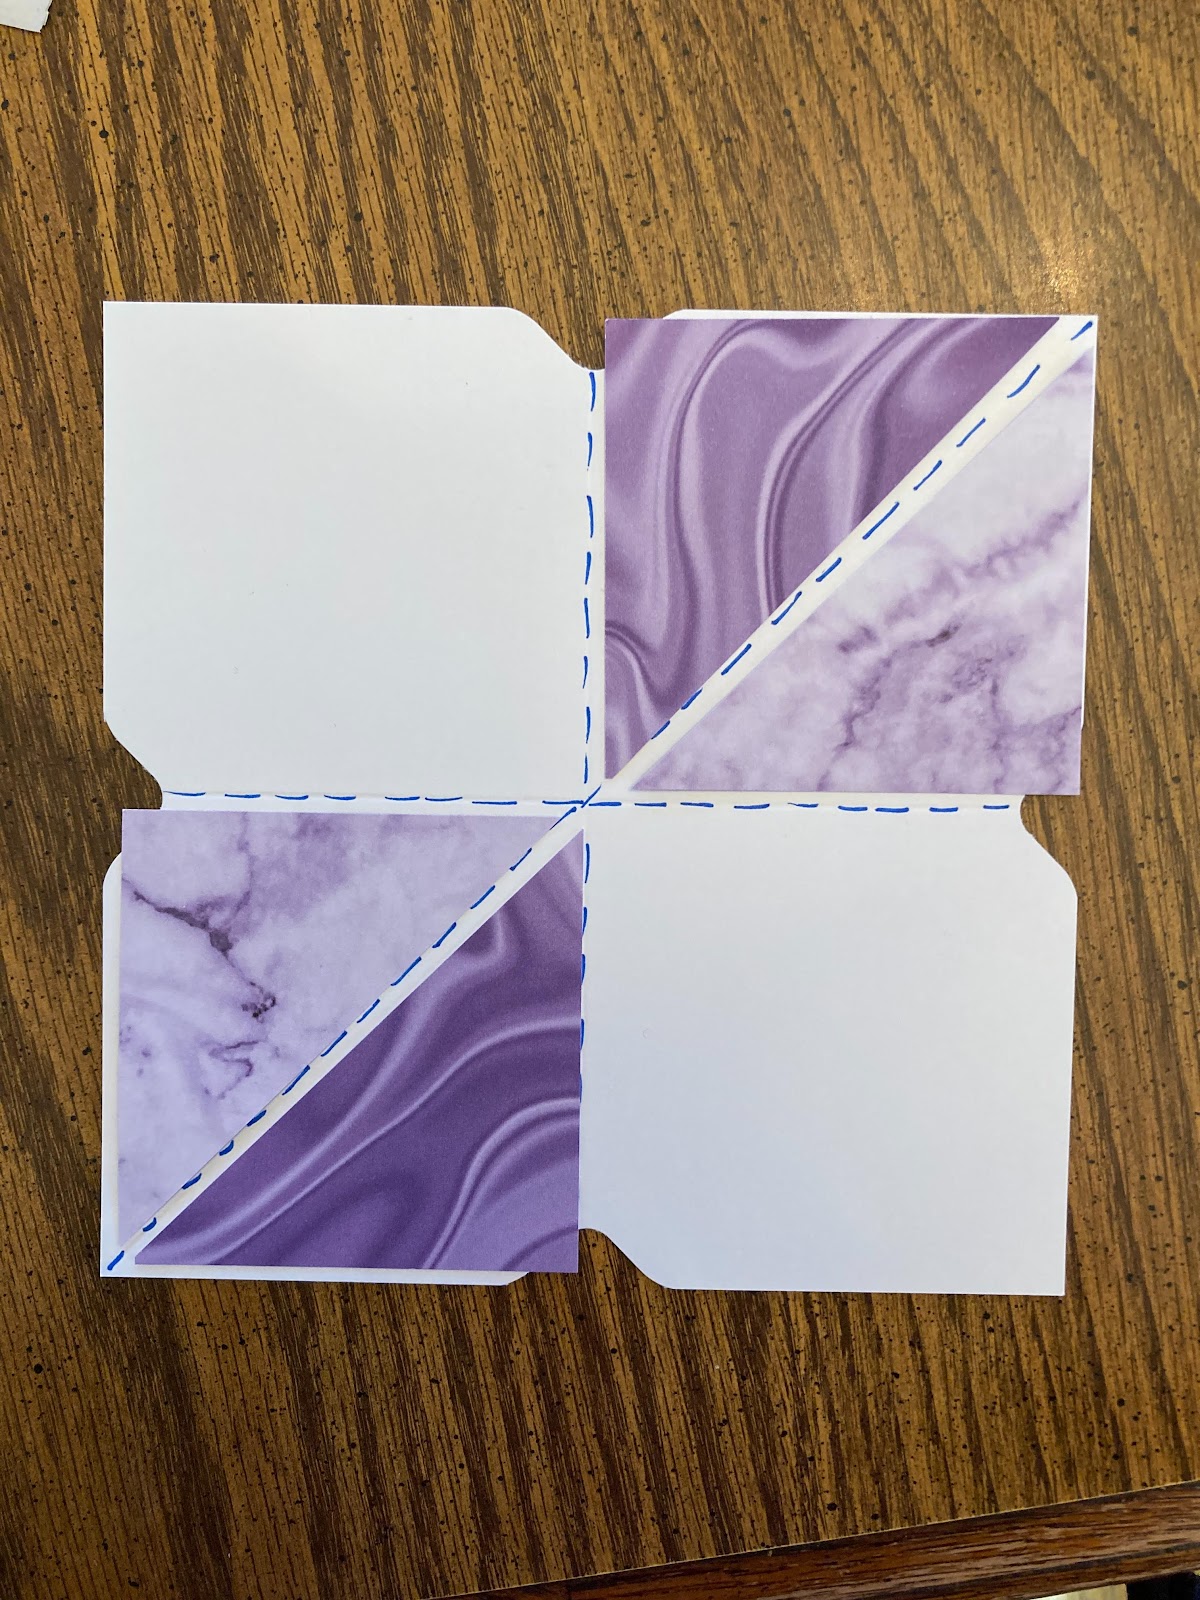
Inside:  basic white card stock 6 x 6" scored in half each direction and one of the diagonals.


 Optional: The notches were made with a tool I have had in my craft room for years--an envelope punch board.  Warning:  this picture shows the notches, but the notches should NOT be made until the pretty paper pieces have been glued on.

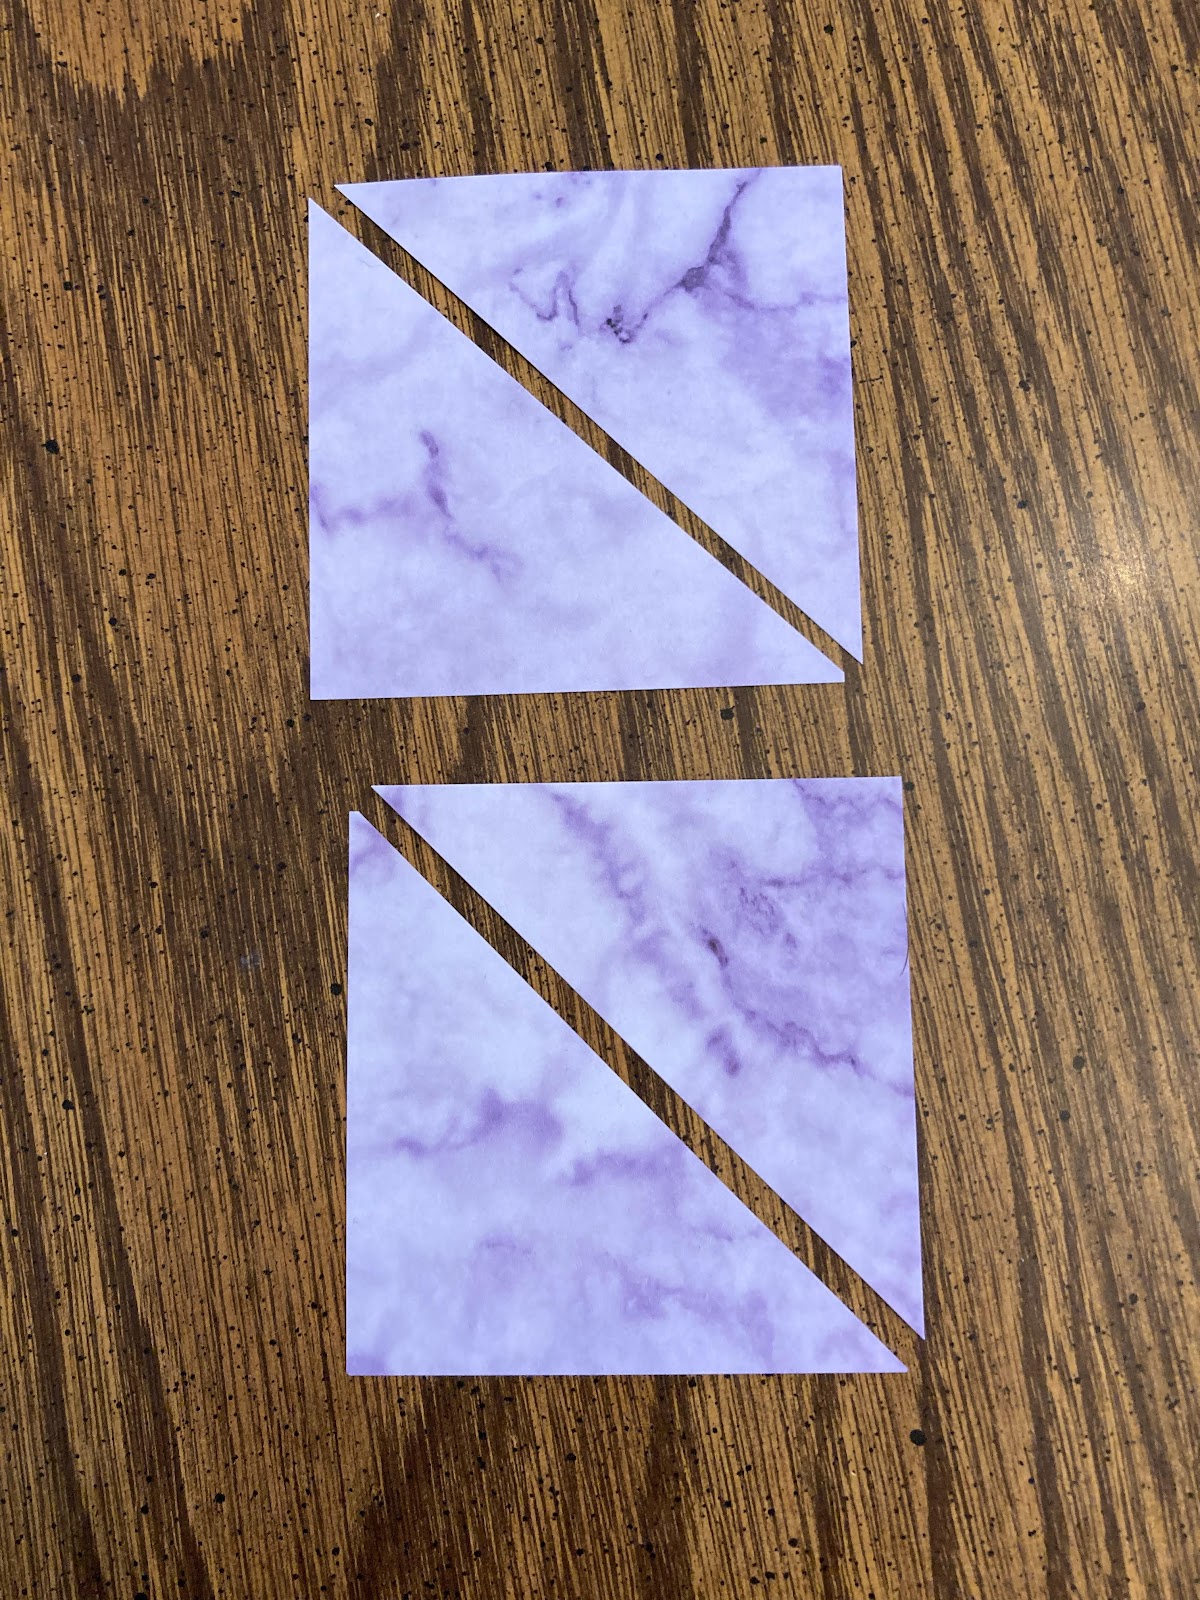
The triangle accent pieces are halves of 2 3/4" squares.


For added interest I flipped one piece of each triangle to show both sides of the pretty paper.  Now cut the notches if desired.
Stamp a greeting on one of the white sections. Mine is a greeting from the Flowering Tulips stamp set. Apply strong adhesive on the back of the white sections and glue them to the inside of the card base. Each time the card is opened, the white section will pop open--the WOW factor!

The Explosion Box:
Outer layer:
Basic white 9 x 9" scored at 3" on all sides.  Cut off the four corner sections
Middle layer:
Basic white 7 1/2 x 7 1/2: square scored at 2 1/2" intervals.  Cut off the four corner sections.
Top layer:
Basic white 6 x 6" square scored at 2" intervals.  Cut off the four corner sections.


To put it together, glue the middle-sized layer on to the largest layer.  Glue the smallest layer on top of the middle-sized layer.
Decorate and stamp greetings as desired.

Lid:
The lid must be just a tiny bit larger than the box so it will slide off easily.  The first lid I made was from another 9x9" piece of cardstock scored at 3".  Once I slid it on the box, the fit was too tight.  I couldn't pull the lid off!  So......back to the drawing board.
Dimensions of the lid:  9 1/16 x 9 1/16" Scored at 3".  Burnish on the score lines for a crisp fold.  To make the four corner flaps, cut from the edge of the card stock to the first score line.   I also trimmed a small wedge off each corner flap.  To make less bulk when folding in the sides, also cut about an inch off each corner flap.  The bottom left corner piece in this picture shows the first cut.  Trim all four corner flaps like that.
  

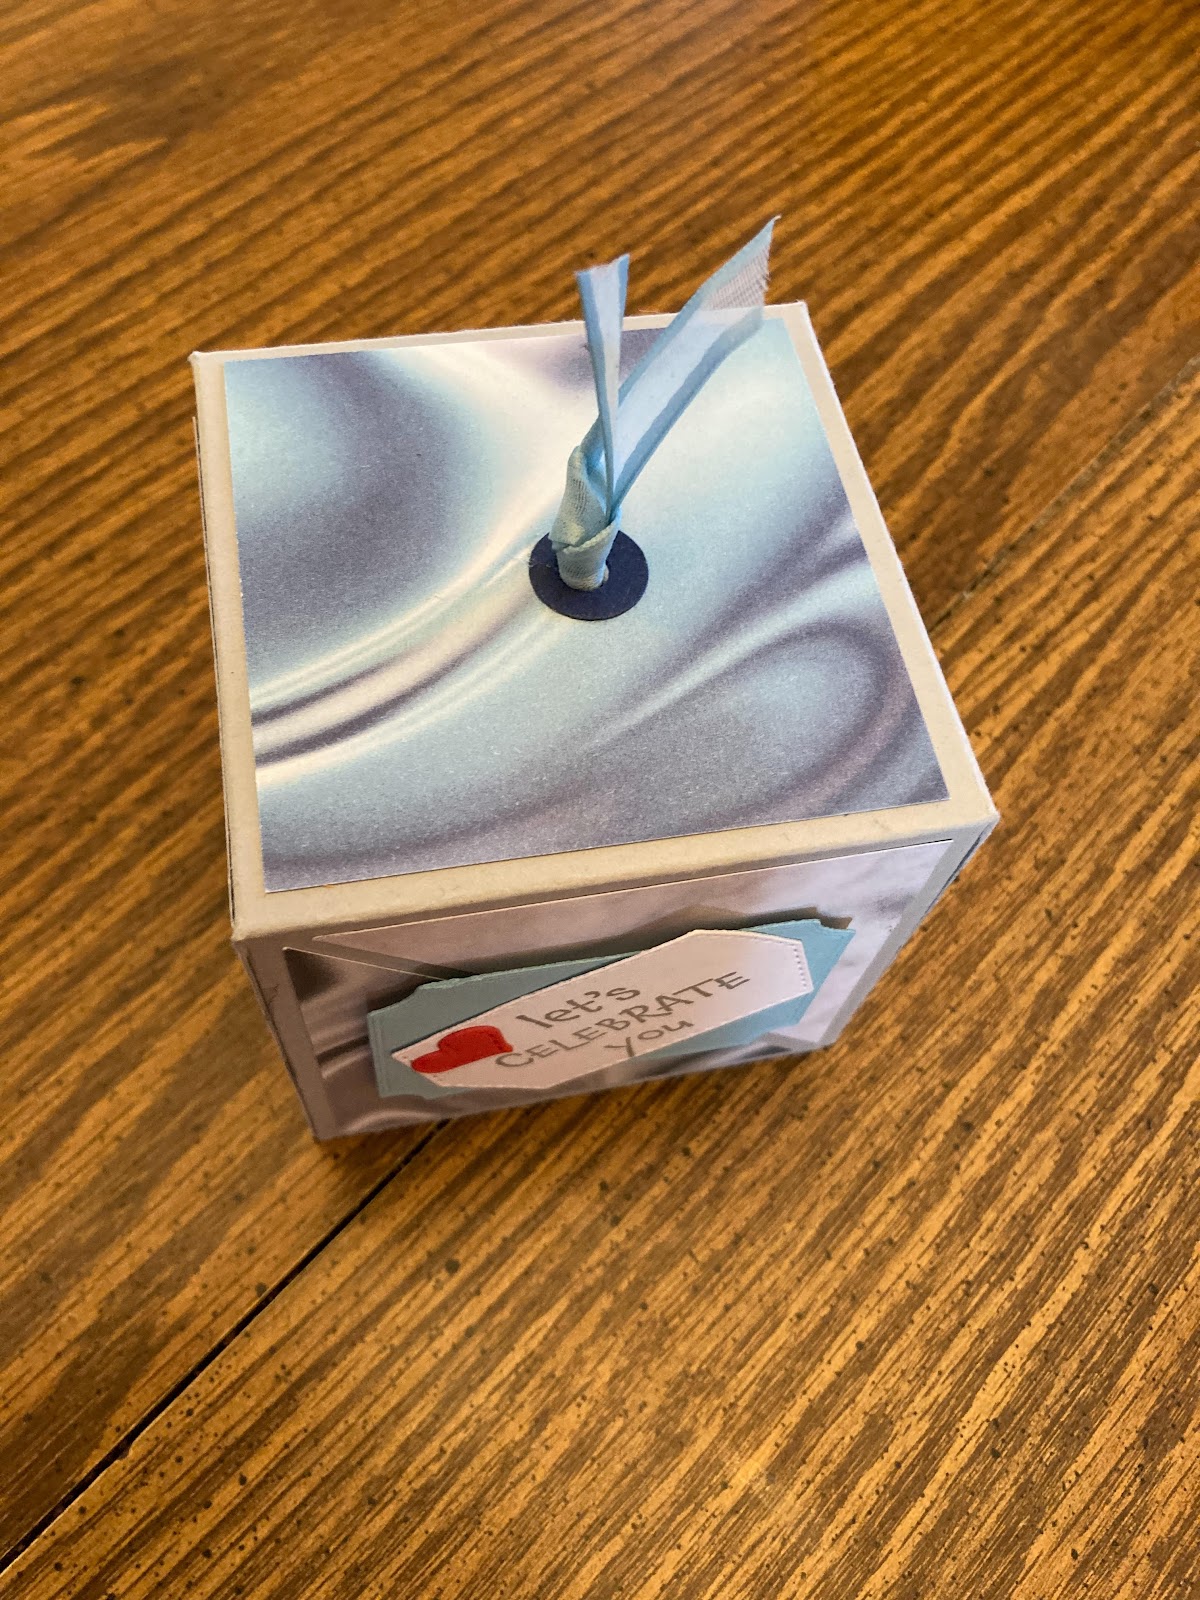
It's easier to decorate the sides of the box before gluing the flaps to the sides.  I used 2 3/4" squares of the Simply Marbleous pretty paper.  I cut them on the diagonal to make triangles similar to the card.


Now apply adhesive to the corner flaps and attach them sides of the lid.

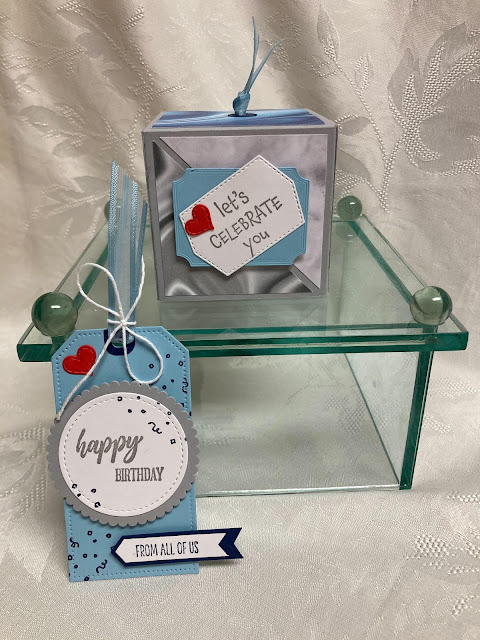
To finish it off, I colored a strip of white ribbon with a Balmy Blue Stampin' Blend alcohol marker, poked a hole in the top of the lid, and threaded the ribbon through the hole, and tying off each end.


Once again, thank you for stopping by my blog.   Maybe you got some inspiration for creating something wonderful of your own.  I would love it if you would leave me a comment below and stop back soon.  Don't forget to click through each name below to see even more awesome ideas.


Here are the Stampin' Up! products I used.  Click on the link under each picture to go to my online "store."


Thursday, January 27, 2022

January 2022 Stampin Friends Blog Hop


Welcome Crafting Friends!  


My Stampin Friends and I are beginning another year of blog hops.  This month’s theme is LIFE'S SPECIAL OCCASIONS.  We are getting a jumpstart on making cards and projects for special occasions we may have this year.  If you are following along the hop, you have arrived from Steph's blog. Be sure to read through my blog, comment below and continue to Sue's blog. If you get lost along the way, you can find a list of Blog Hoppers at the end of each Blog. Be sure to check out their creations!  Here are the projects I created for this month’s hop: 

A Happy Ravioli Day/Anniversary Card


On March 20 my brother and sister-in-law are celebrating their wedding anniversary, their daughter and her husband are celebrating their first anniversary AND it's National Ravioli Day here in the U.S!  (Here nearly every day has some little commemoration:  National Hot Dog Day, National Pizza Day, etc. LOL).  My husband comes from a large Italian family, and they celebrate special occasions with homemade RAVIOLI! Making them is a day long process, but well worth the wait.  They are DELICIOUS.  The recipe is a well-kept family secret!  


     A mini photo album--Ravioli Making Day is always a fun occasion, and we take lots of family pictures which will be included in this album.


My hubby makes his own pasta, filling, and 
sauce.


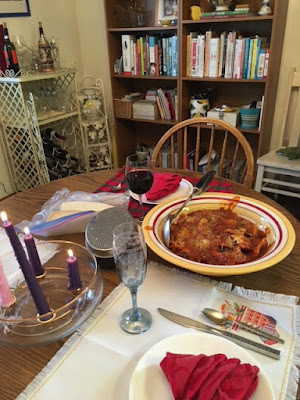
The table is set, and mouths are watering!


                                   YUMMY!


Direction and Dimensions
Card:  Basic White cardstock for the base 5 1/2" x 8 1/2" scored at 4 1/4"
Basic Black mat 4 x 5 1/4"
Tag from Tailored Made Tags die set
Random stamping of background from What's Cookin? stamp set*
Accent pieces cut from the Cookin' die set*
Words all in Memento Black ink with A Wish for Everything stamp set

Mini Album:  
Album Front Cover:  Basic Black 5 1/2" x 8" Score one end at 1/2"
Album Back:  Basic Black 5 3/8" x 7 7/8" (The back is slightly smaller than the front, so it won't be visible when the album is closed.)  Score one end at 1/2".
Real Red mat:  7 1/4 x 5 1/4"
Basic Black mat: 5" x 4 1/2"
Basic White focal piece:  I typed this on my computer and cut it to 4 3/4" x 
4 1/4"
Clear Envelopes (photo holders):  6-10 clear envelopes (Available from Stampin' Up!  Find the link to my online store below.)
Basic White Envelope Cover:  4 3/4 x 2" scored at 1"  

Instructions:
1.   Prep the score lines of the cover pieces.  (I put a sticky note on each, so I would know which is the top cover.) Apply a strip of tear and stick adhesive along the flap of the top cover piece. 


2.  Overlap the 1/2" flaps and adhere them together. (The top flap should cover up the back flap.)
3.  Center the red mat and adhere it to the front cover.
4.  Decorate and/or stamp the focal piece and adhere it to the black mat.
5.  For the clear envelope piece, peel the plastic strip off the clear envelope to expose the glue.
6.  Center and adhere it inside the envelope cover.  (The top of the clear envelope flap should be flush with the score line of the envelope cover.)


7.  Continue adhering the clear envelopes one after the other on top of the first one.  Keep them lined up with the first one.


8.  Add tear and stick tape to the inside of the of the envelope end cover as shown in the picture above.  Then close and secure it on top of the stack of clear envelopes.
9.   Punch holes through all layers. Insert twine or ribbon and tie a bow. 
10. Put tear and stick tape on the back of the envelope cover, and then adhere it to the back of the back cover piece. (Flush to the edge of the glued flap.)


This mini album is so versatile. The size can easily be adjusted.  It can be made in any color card and decorated to suit any occasion.  It can be a mini scrapbook to highlight a specific event (a high school activity, First Communion, 50th wedding anniversary, a birthday party, the list is endless!) It would make a perfect little gift for grandparents filled with pictures of the grandchildren.  Give it a try!

Thanks for stopping by and having a look at my creations.  I'd love for you to leave a comment to let me know what you think.  For more crafting inspiration, click on the links below.

 
*Stamp set and die set can be purchased separately or in a bundle with 10% savings.  See my online store below.


Product List